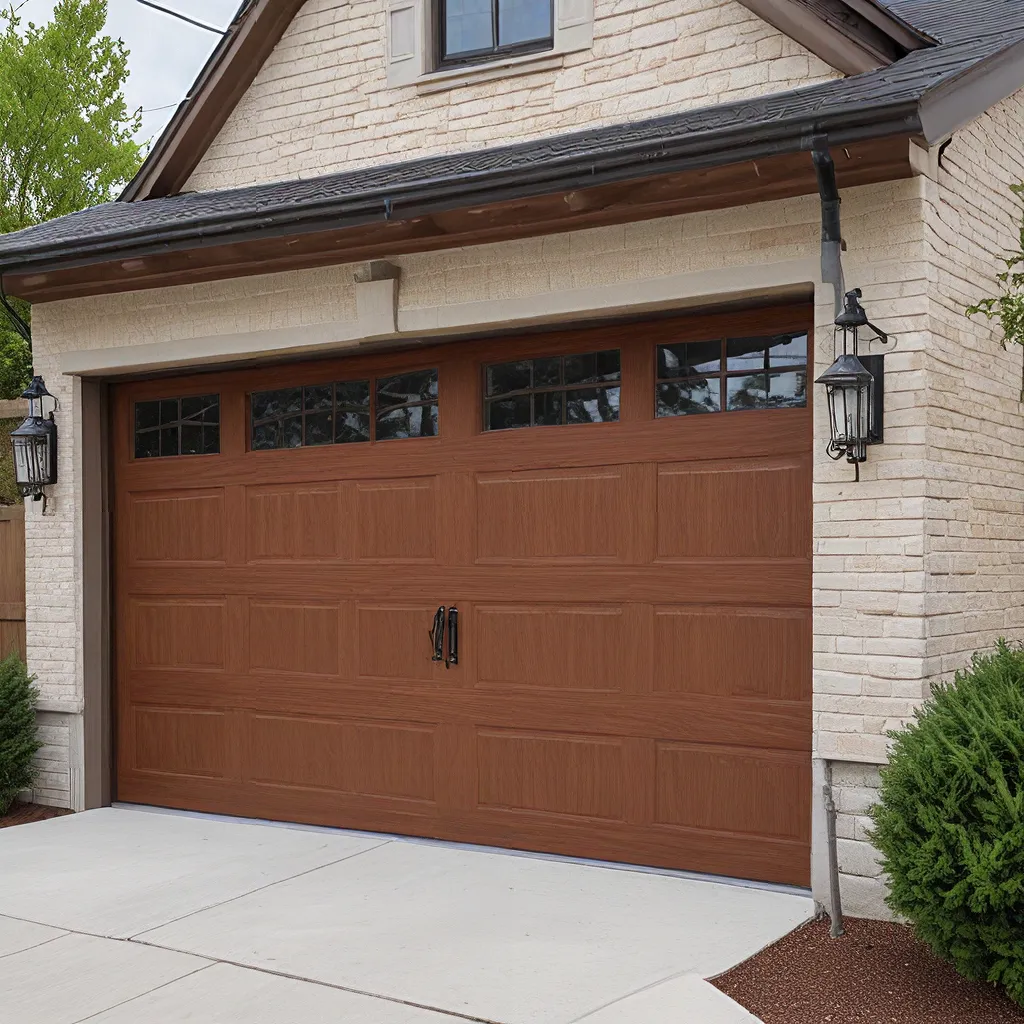
Garage doors are often the unsung heroes of our homes, quietly protecting our vehicles and valuables while seamlessly integrating into the overall aesthetic. However, the process of garage door installation can be a daunting task for many homeowners. In this comprehensive guide, we’ll walk you through the step-by-step process of mastering garage door installation, ensuring your project is a success from start to finish.
Understanding Garage Door Types and Materials
Before embarking on your garage door installation journey, it’s essential to familiarize yourself with the different types of garage doors and the materials they are typically made from. This knowledge will help you make an informed decision that aligns with your home’s style, budget, and practical needs.
| Garage Door Type | Common Materials | Key Considerations |
|---|---|---|
| Sectional Garage Doors | Steel, Aluminum, Fiberglass, Wood | Versatile, durable, and energy-efficient options. |
| Roll-up Garage Doors | Steel, Aluminum | Space-saving design, suitable for tight spaces. |
| Swing-out Garage Doors | Wood, Fiberglass, Steel | Unique, traditional appearance, with added security features. |
Carefully considering the pros and cons of each type and material will help you make the best choice for your home and budget.
Preparing for Garage Door Installation
Once you’ve selected the perfect garage door, it’s time to prepare for the installation process. This step is crucial to ensure a smooth and successful project. Here are the key steps to take:
- Measure the Opening: Accurately measure the width, height, and depth of your existing garage door opening to ensure the new door will fit perfectly.
- Clear the Area: Remove any obstacles or items from the work area, providing a clear path for the installation team.
- Disconnect the Old Door: If you’re replacing an existing garage door, disconnect the old door and its components, following the manufacturer’s instructions.
- Gather the Necessary Tools: Make sure you have all the required tools on hand, such as a level, drill, screwdriver, and wrench, to assist the installation team.
By taking the time to properly prepare, you’ll set the stage for a seamless garage door installation process.
The Step-by-Step Garage Door Installation Process
Now, let’s dive into the step-by-step process of installing your new garage door. This guide will provide you with a clear understanding of what to expect, ensuring a successful outcome.
Step 1: Assess the Garage Door Opening
The first step is to carefully inspect the existing garage door opening, ensuring it is level, plumb, and structurally sound. If any issues are identified, they should be addressed before proceeding with the installation.
Step 2: Install the Garage Door Tracks
The garage door tracks serve as the guiding system for the door’s smooth operation. Carefully follow the manufacturer’s instructions to properly install and align the tracks, ensuring they are level and securely mounted.
Step 3: Hang the Garage Door Panels
Carefully lift and position the garage door panels, one at a time, onto the tracks. Secure the panels according to the manufacturer’s guidelines, using the appropriate hardware and fasteners.
Step 4: Attach the Garage Door Springs
The garage door springs counterbalance the weight of the door, making it easier to open and close. Properly installing and adjusting the springs is a critical step in the installation process.
Step 5: Connect the Garage Door Opener
If you’re installing a smart garage door with an automatic opener, follow the manufacturer’s instructions to carefully wire and connect the opener to the door’s mechanisms.
Step 6: Test and Adjust the Garage Door
Once the installation is complete, thoroughly test the door’s operation, ensuring it opens and closes smoothly and effortlessly. Make any necessary adjustments to the springs, tracks, or other components to ensure optimal performance.
Step 7: Perform Final Touches
Finally, clean up the work area, dispose of any waste materials, and ensure the garage door is visually appealing and integrated seamlessly into your home’s exterior.
By following these step-by-step instructions, you’ll be well on your way to successfully installing your new garage door, providing both functional and aesthetic benefits to your home.
Maintaining Your Garage Door for Long-Term Performance
Proper maintenance is the key to ensuring your newly installed garage door continues to function flawlessly for years to come. Here are some essential tips to keep your garage door in top condition:
- Regular Inspections: Conduct bi-annual inspections to check for any loose hardware, worn parts, or signs of damage.
- Lubrication: Regularly lubricate the moving parts, such as the hinges, rollers, and springs, to maintain smooth operation.
- Sensor Alignment: Ensure the garage door’s safety sensors are properly aligned to prevent accidents and obstructions.
- Cleaning and Weatherproofing: Keep the door’s surface clean and apply weatherproofing sealants to protect against the elements.
- Professional Servicing: Periodically schedule a professional garage door service to perform a comprehensive inspection and address any issues.
By following these maintenance guidelines, you’ll extend the lifespan of your garage door and ensure it continues to provide reliable and safe operation for years to come.
Conclusion
Mastering garage door installation is a rewarding project that can enhance the curb appeal and functionality of your home. By understanding the different door types, properly preparing for the installation, and following the step-by-step process, you’ll be well on your way to a successful garage door upgrade.
Remember, if you ever encounter any challenges or require professional assistance, don’t hesitate to reach out to the experts at MW Door Service. Our team of experienced technicians is dedicated to providing exceptional garage door installation and maintenance services to homeowners in the area. Let us help you achieve the perfect garage door solution for your home.


